

What exactly is schema and how do you effectively incorporate it into your own SEO strategy?
There are so many mission-critical components to SEO that schema can oftentimes get lost in the shuffle. But schema is a small thing that can make a big impact, and we think it deserves a little more love! Here are some actionable ways to start using it in your own SEO strategy using Google’s schema markup tools.
First, What is Schema?
Schema markup (schema.org) is a library of code that can be added to websites to help improve the way search engines display results in the search engine result pages (SERPs).
In layman’s terms, schema markup offers a way to help your website stand out in the search results. Attract more eyes (and more clicks!) when you make your organic listings POP!

Not All Results are Equal
Exciting stuff, right? Now, before you are swept away on the schema train, there are certain scenarios where schema is more beneficial.
Most commonly, you will see schema manifested as:
- Local Business Information
- Articles
- Restaurants
- Reviews
- Movie Showtimes
- Events
- Software Applications
- Products
However, schema markup is most certainly not limited to these. Check out the full list at schema.org.
Does Schema Apply to your Website?
Generally, there are at least one or two categories that apply to any website. Businesses, reviews, articles, and products make up most of the content that is commonly supplemented with schema markup.
Let’s Get Started!
The simplest way to begin implementing schema is through the Google Data Highlighter or Google Data Markup Helper. Both schema tools are intuitive and designed to easily tag pages on your website. A great starting point if you’re just getting your feet wet with schema. But how do you choose which tool is best for you?
Google Data Highlighter or Google Structured Data Markup Helper?
Both tools are wonderful, but depending on your comfortability with code and access to your website’s backend, one may be a better fit for your needs. Below we outline both tools, well as pros on cons to help you decide which will work best for you.
Getting Started with Google Data Highlighter
Ready to start tagging?
1. First, watch this quick tutorial on the Data Highlighter so you can see the tool in action.
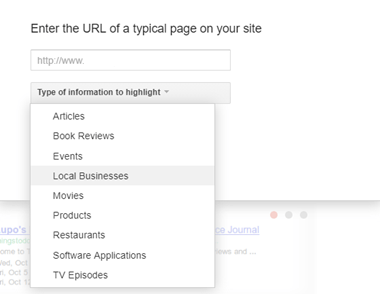
2. Enter the URL of the page you want to begin tagging and choose the most applicable category.
 You also have the ability to select all similar pages (great for articles and products) or you can select that individual page for unique tagging (great for business information and event lists).
3. Start highlighting! Highlight the data you want to tag, and a drop-down will appear allowing you to identify the highlighted items. To the right of the screen, you’ll see the information required for the category you’ve selected, and the tags will populate as you highlight.
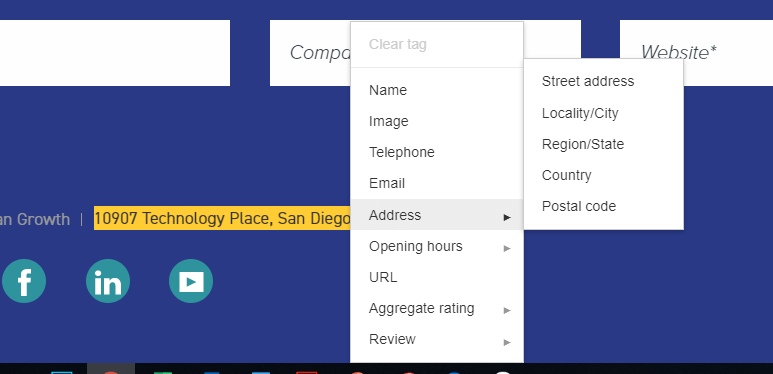
Google’s Data Highlighter interface is not without its quirks, but it is intuitive and offers a great starting point for getting your feet wet with schema.
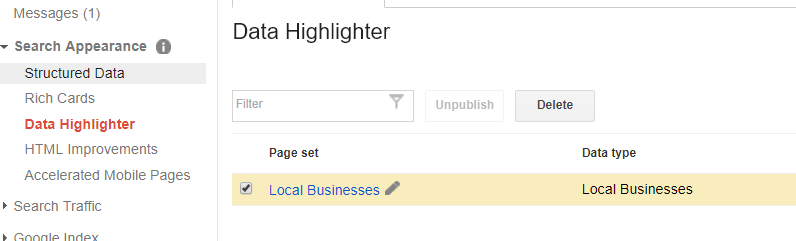
Once you’ve highlighted your pages, you can review and manage all your tags in the ‘Data Highlighter’ section of Search Console.
Data Highlighter at a Glance
Pros
- Quick and simple if limited on time and budget.
- Useful if you do not have access to the website code or have limited coding knowledge.
- Accessible right within Search Console (just make sure to toggle back to the original interface!).
Cons
- Exclusive to Google; not read by other search engines.
- Limited category and tag offerings available for highlighting.
Getting Started with Google Structured Data Markup Helper
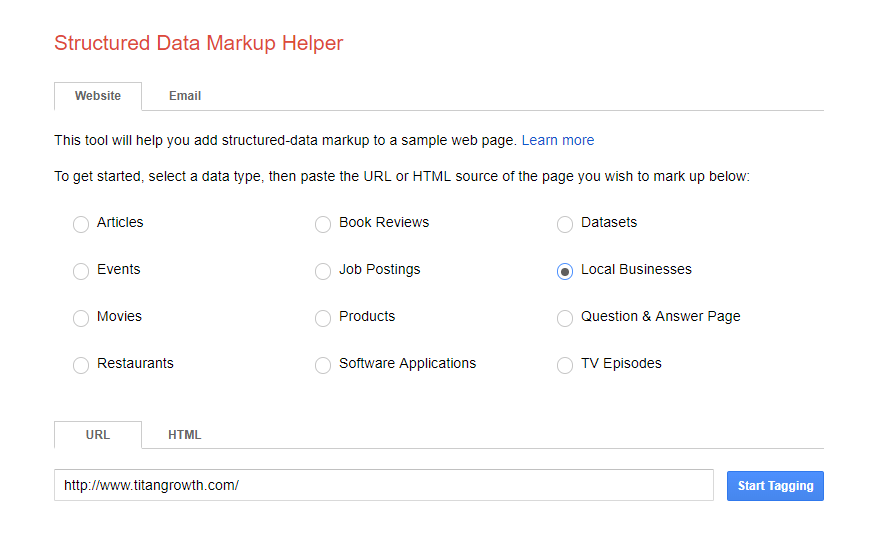
1. Enter the URL of the page you want to begin tagging and choose the most applicable category.
![]() If you only have html, you can paste that as well.
If you only have html, you can paste that as well.
2. Start tagging! After your webpage loads, highlight the data you want to tag, and a drop-down will appear allowing you to identify the highlighted items. To the right of the screen, you’ll see the information required for the category you’ve selected, and the tags will populate as you highlight.
3. Once your Data items are complete, select ‘Create HTML’.
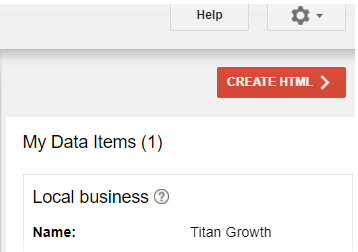
4. Implement the markup: add each code item as highlighted in the tool, or download the generated html file and paste into your source code.

Structured Data Markup Tool at a Glance
Pros
- Accepted by most major search engines, not just Google.
- Offers a larger range of categories and markups to use.
- Uses different schema data formats (JSON-LD, RDFa).
- Can generate rich snippets for videos, reviews, addresses, and more.
Cons
- Requires access to source code.
- Can be confusing to implement code correctly.
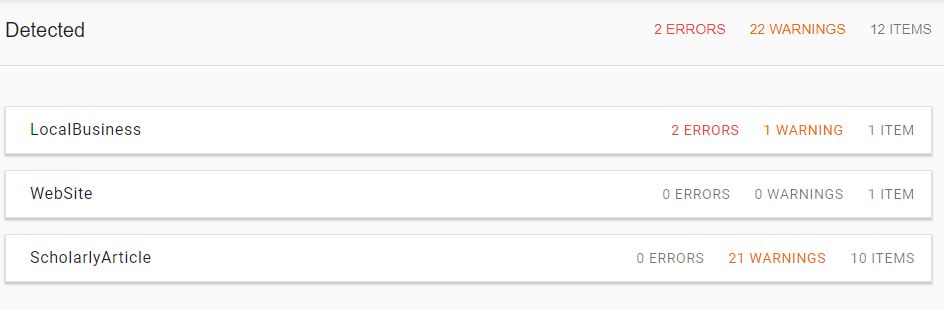
In either scenario, use Google’s Structured Data Testing Tool to preview your page with the markup, so you can troubleshoot any potential bugs.
When it comes to schema, less is not more! Feel free to markup any content you feel is relevant, as long as it is visible to people who will be visiting the webpage.